
29th Oct 2026
DIY Kitchen Splashback: How One Hamilton Couple Transformed Their Kitchen for Around $550
Think you need thousands of dollars to give your kitchen a makeover? Think again.
Sometimes, the smallest changes make the biggest difference. And when it comes to giving your kitchen a fresh new look without blowing the budget, a tiled splashback might just be our favourite DIY project.
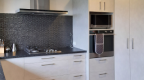
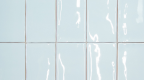
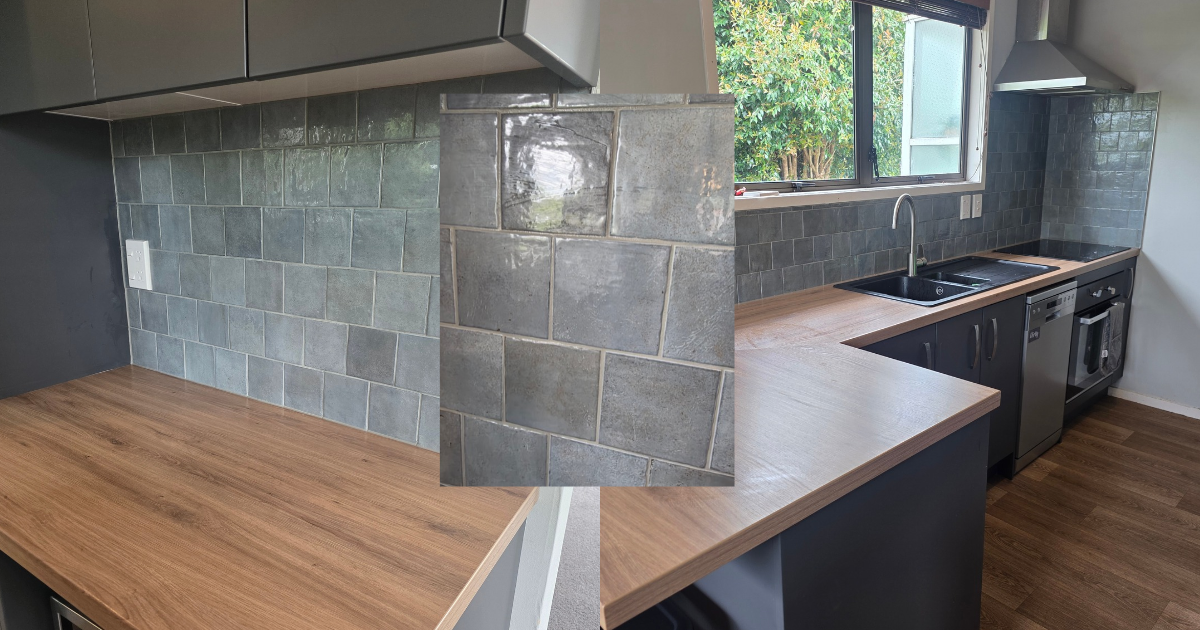
Take this young Hamilton couple, who decided to put their own stamp on their first home. Rather than splashing out on a full kitchen renovation, they rolled up their sleeves, got creative and transformed their kitchen with our gorgeous Verticale Moody Blue Gloss tiles.
The best part? Their tiles and finishing products came to just $551.42, including GST!
Proof that a little DIY can go a very long way.
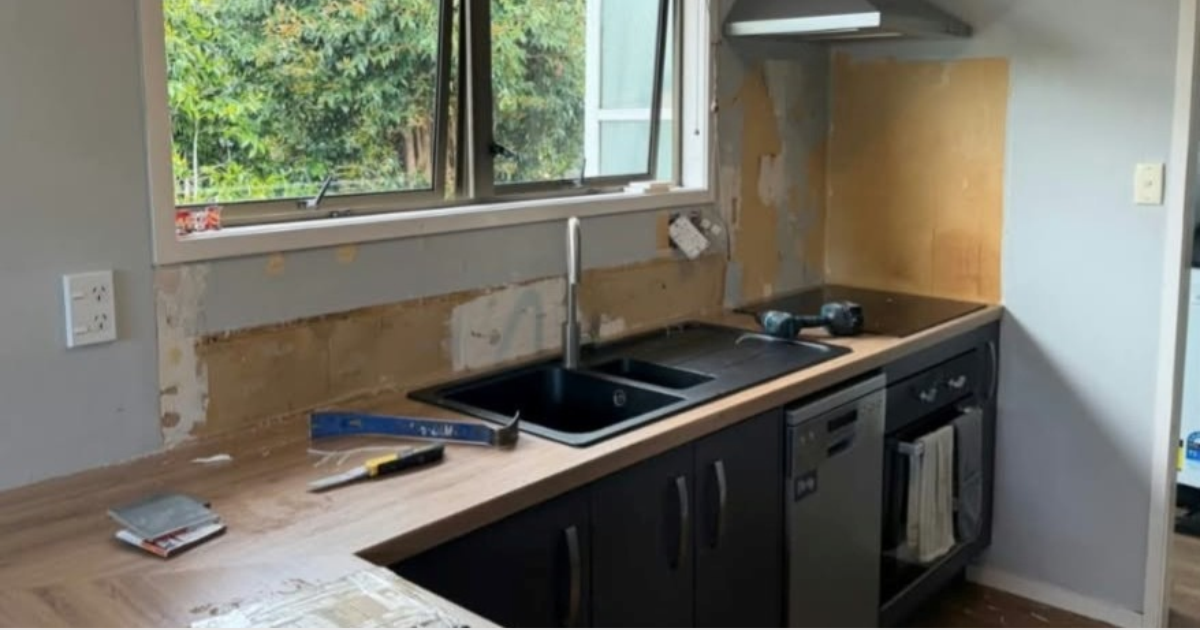
Check out the before, what a transformation!
A Little Tile, A Lot of Personality
A kitchen splashback might only cover a few square metres, but it can completely change the feel of a room.
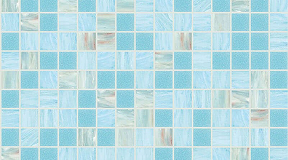
For this makeover, the couple chose our Verticale Moody Blue Gloss tiles in a beautiful, rich blue. With their glossy finish and deep, moody colour, they're the perfect way to add personality to a kitchen without replacing the cabinetry, benchtops or appliances.
And while blue makes a statement, it's surprisingly versatile. Pair it with crisp whites for a fresh coastal feel, warm timber for something more organic, or brushed brass for a little extra luxury.
It's an easy way to make an everyday kitchen feel a whole lot more special.
So, How Much Does a DIY Splashback Actually Cost?
Here's where things get interesting.
For this project, the couple purchased 4m² of Verticale Moody Blue tiles, along with trims, grout, silicone and cleaning supplies from Tile Space.
And the cost of giving their kitchen a completely new look? Around $550 in tiles and finishing products!
The Full Cost Breakdown
| Product | Quantity | Cost incl. GST |
|---|---|---|
| Verticale Moody Blue Gloss tiles, 100x100mm | 4m² | $345.00 |
| Matt Silver L Angle Trim, 10mm x 2.5m | 3 lengths | $26.33 |
| Mapei Kerapoxy Easy Grout, 3kg | 1 | $99.40 |
| Mapei Mapesil AC Silicone | 2 | $30.52 |
| EASY Pro Sponges | 2 | $17.66 |
| Mapei Kerapoxy Cleaner Spray | 1 | $31.84 |
| Card surcharge | 1 | $0.67 |
| Total | $551.42 |
Costs are indicative, including GST, and based on adjusted prices from this project. Additional materials such as tile adhesive, surface preparation products and installation tools may be required and are not included in this breakdown.
Not bad for a kitchen makeover!
And because they tackled the tiling themselves, they could avoid the labour costs of hiring a professional tiler.
Want to Give It a Go? Here's How to DIY Your Own Kitchen Splashback
Never tiled before? A kitchen splashback can be a great place to start. It's a relatively small area, and with a little patience and preparation, it's a project that many confident DIYers can tackle themselves.
Step 1: Measure Up
First things first, grab your measuring tape!
Measure the width and height of the area you'd like to tile, then multiply the two measurements (in metres) to calculate your square metres.
We recommend allowing around 10% extra for cuts, breakages and wastage. If you're working with a more complicated pattern or lots of corners, you may need a little more.
Our tip: Bring your measurements into your nearest Tile Space showroom and our team can help you work out exactly how many tiles you'll need.
Step 2: Choose Your Tiles
Now for the fun part!
Your splashback is the perfect place to have a little fun with colour, texture or pattern. Unlike a whole kitchen renovation, you're working with a relatively small area, so it's a great opportunity to be a little adventurous.
Love a timeless look? Try a glossy white subway tile. Feeling bold? Rich blues, earthy greens and warm terracottas are beautiful ways to bring character into your kitchen.
For this Hamilton makeover, Verticale Moody Blue was the star of the show.
The glossy finish reflects the light beautifully, while the rich blue adds depth and personality.
Step 3: Get Your Surface Ready
Before you start tiling, make sure your wall is clean, dry, flat and suitable for tiling.
Remove any loose paint, grease or debris, and repair any damaged areas. Depending on your wall surface, you may also need a suitable primer or other preparation.
Don't skip this step. A beautiful tile job starts with a properly prepared surface!
Step 4: Plan Your Layout
Before reaching for the adhesive, lay out your tiles and decide where your cuts will fall.
Think about where you want your grout lines to sit, how the tiles will finish at the edges and what you'll do around power points.
Use a level to mark a straight starting line and consider using tile spacers to keep everything looking neat and consistent.
A little planning here can make a huge difference to the finished result.
Step 5: Time to Tile!
This is where the transformation really begins.
Using a suitable tile adhesive and notched trowel, spread adhesive over a manageable section of the wall, following the manufacturer's instructions.
Press each tile firmly into place, using spacers to maintain consistent grout joints.
Work your way across the splashback, checking regularly that everything is level and aligned.
For cuts around edges and power points, use the appropriate tile-cutting equipment. Any electrical work should be completed by a licensed electrician.
Our tip: Don't rush! Working in smaller sections gives you more time to adjust your tiles and keep everything looking tidy.
Step 6: Get Grouting
Once your adhesive has cured for the recommended time, it's time to grout.
Apply your chosen grout using a grout float, working diagonally across the joints. Remove excess grout and clean the tile surfaces according to the manufacturer's instructions.
For this makeover, the couple chose a cement-coloured epoxy grout, which gives their glossy blue tiles a beautifully defined finish.
Epoxy grout is a great option for kitchen splashbacks thanks to its durability and resistance to stains, but it does require careful application and cleaning.
Our tip: Make sure you've got the right cleaning products ready before you start grouting. Epoxy residue can be difficult to remove once it hardens.
Step 7: The Finishing Touches
You're nearly there!
Finish exposed edges with tile trims and use a suitable flexible silicone sealant where the splashback meets the benchtop and at other movement joints.
Give everything a final clean, allow the products to cure as directed, and admire your handiwork!
You've just given your kitchen a whole new personality.
Why We Love a DIY Splashback Makeover
There's something incredibly satisfying about transforming a space yourself, especially when it's your first home.
A tiled splashback is one of those projects that delivers maximum visual impact without the expense of a complete renovation.
Here's why we're such big fans:
-
It's budget-friendly. You can make a huge visual difference without replacing your kitchen cabinetry or benchtops.
-
It's achievable. A splashback is a manageable project for confident DIYers who are happy to put in a little time and effort.
-
It's personal. With so many colours, shapes and finishes to choose from, you can create something that feels uniquely yours.
-
It's practical. Tiles are durable, easy to clean and ideal for handling everyday kitchen splashes.
-
It's satisfying. There's nothing quite like standing back and admiring something you've created yourself!
And as this Hamilton couple have shown, you don't necessarily need a huge budget to make a huge difference.
Ready to Transform Your Kitchen?
Whether you're dreaming of a bold blue splashback, a classic white subway or something a little more unexpected, we've got plenty of beautiful tiles to get you inspired.
And you don't need to be a renovation expert to get started.
Visit your nearest Tile Space showroom and our team can help you choose your tiles, calculate quantities and find the right installation products for your project.
Explore our kitchen tiles and see what a little DIY could do for your space.
Please note: Prices are indicative and may vary. The project breakdown does not include all potential installation materials or tools. Always follow the manufacturers' installation instructions and seek professional advice where required.