")
16th Jun 2023
Ultimate Guide To Crazy Paving In NZ: How to Crazy Pave With Amie Brodie (Video Tutorial)
Crazy paving is a fantastic way to jazz up boring driveways and outdoor areas and has become more and more popular in NZ, especially because it's a DIY project that is easy and fun to do. In this detailed guide, we'll show you how to lay crazy paving featuring a quick video tutorial by home renovation queen, Instagram star and designer Amie Brodie.
We also asked our In-house Designer and consultant Moet Walker, to answer some of the most common questions people ask when considering crazy paving.
But, first, some basics. We asked our In-house Designer and consultant Moet Walker, to answer some of the most common questions people ask when considering crazy paving.
.
Crazy Paving - The Fundamentals
What is crazy paving?
Crazy paving is a unique and artistic paving technique popular in NZ, characterised by irregularly shaped stone or stone-look outdoor tile pieces fitted together like a jigsaw puzzle. If you want to save some cash without sacrificing style, crazy paving is a great budget-friendly alternative to paving slabs.
.
Where can I crazy pave?
Your paving options are nearly endless! But the most commonly crazy paved areas are outdoor areas like,
- Driveways
- Concrete paths
- Patios
- Balconies
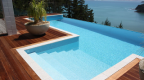
- Pool areas
- Garden landscaping
- Cobblestones
.
What do you put under crazy paving?
The ground should be flat, so ideally, concrete. But you can also lay crazy paving over existing concrete surfaces.
.
How do you prepare the ground for crazy paving?
Clean the concrete first with a water blaster/powerwasher and prime it. Once dry, apply an adhesive to your paving tile and press it on.
.
Is it hard to lay crazy paving by yourself?
It is not hard, but it can be time-consuming - however, the end result is so worth it! Just listen to what Amie had to say about her crazy paving project.
“It’s made such an impact on our front entrance; it truly is an amazing way to add glam to your home. I encourage you to give it a go! Even if you have a smaller pathway, it will still be effective. You can mix and match different colours and grout. @tilespacenz have a range of outdoor tile colours and grout shades to choose from, and if you need some inspo there’s plenty on Pinterest for different colour options ?”
.
.
What do you need for crazy paving?
Tools
- Power washer - clean and prep before tiling
- Paintbrush or roller
- Hammer - for the fun part! use to break up the tile into pieces
- Notch trowel - to spread the grout and tile adhesive
Materials
- Primer - prevents moisture building up from underneath the tiles
- Outdoor tiles from Tile Space
- Tile adhesive
- Grout
- Sealer (optional)
Once you've got your tools and materials ready, it's time to get crazy paving!
.
How to Lay Crazy Paving: A Step-By-Step Guide Including Video Tutorial
Here's the quick video tutorial by Amie Brodie. If you want more detailed, step-by-step info, click here or keep scrolling.
.
Step 1: Choose Your Tiles
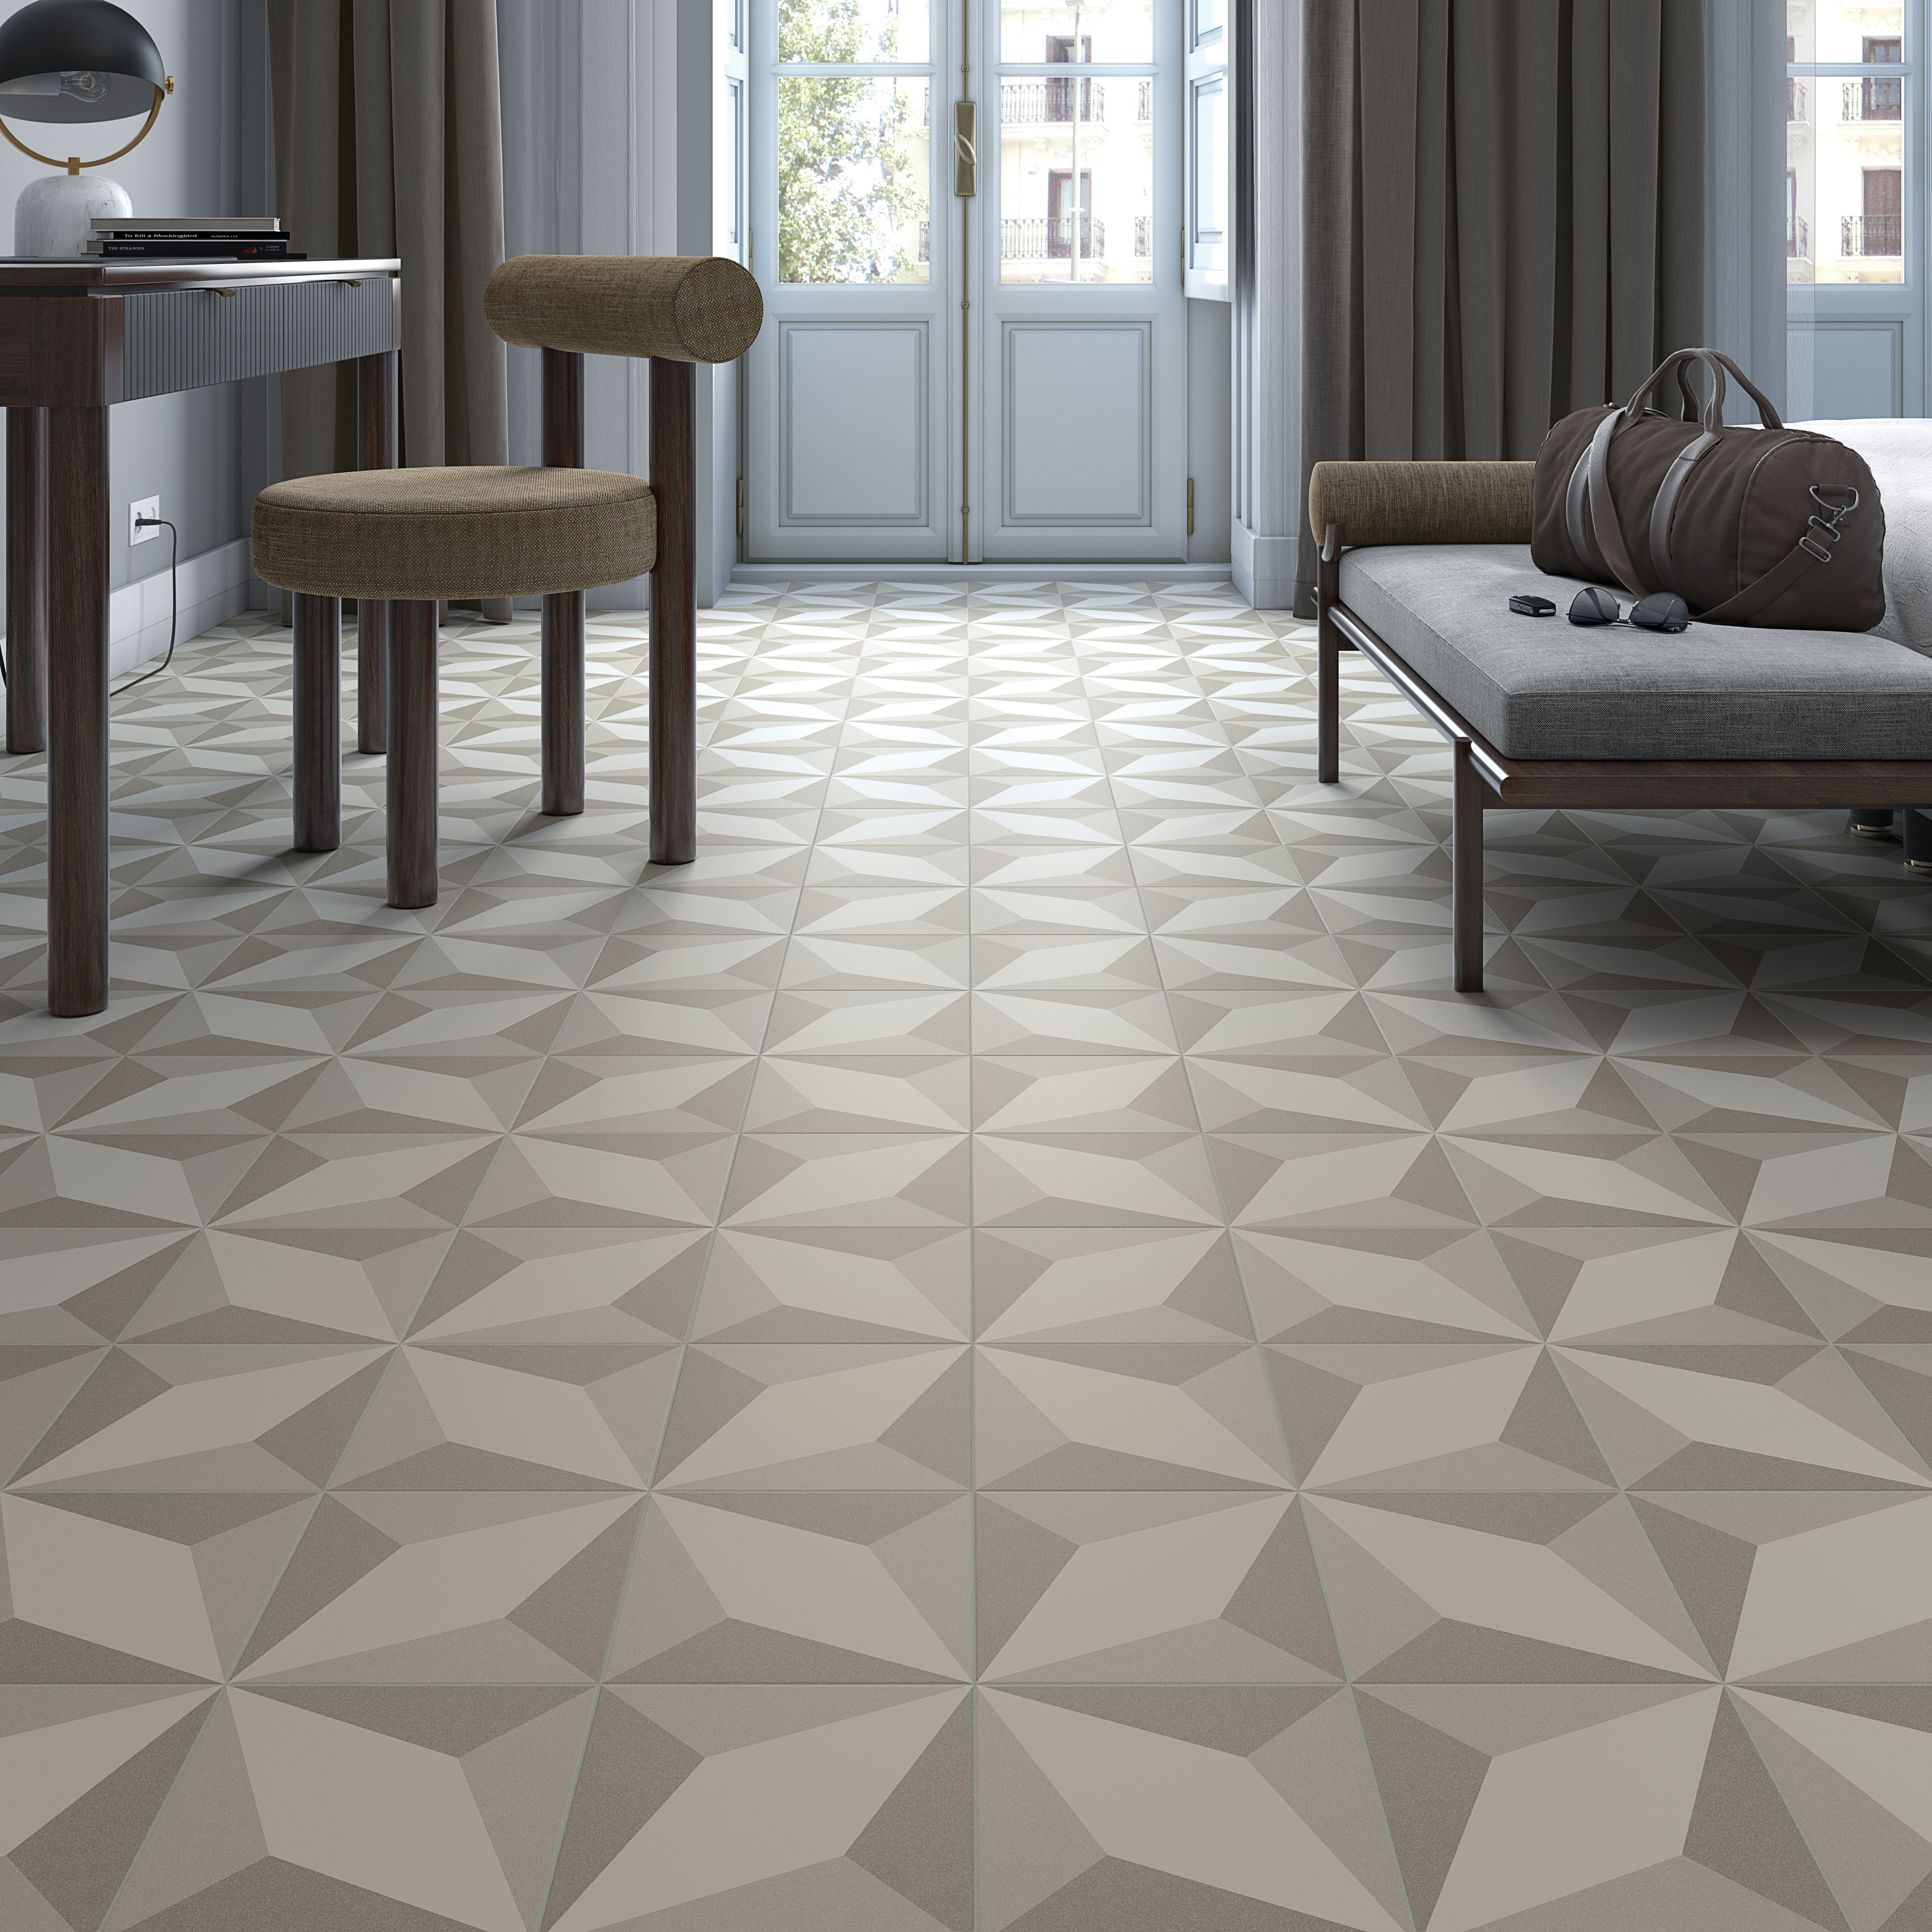
The first step in creating your crazy paving masterpiece is selecting the right tiles. Tile Space offers a wide range of stone-look paving tile options that are easy to work with and cost way less than natural stone paving.
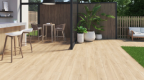
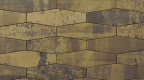
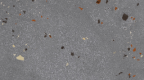
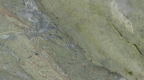
Amie used our Kiel Beige In Out 60 and Nordic Danimarca Grip 45x90 in her crazy paving project.
.
|
|
|
| Kiel Beige In Out 60 | Nordic Islanda Grip 45x90 |


.
They are both porcelain stone-look tiles with a grip finish. Don't know much about grip finishes? Give this Beginner’s Guide to Non-Slip Outdoor Tiles a read.
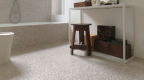
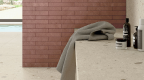
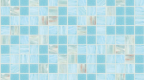
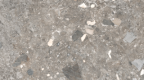
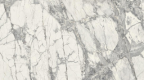
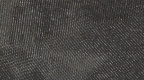
Here are four of the most popular tiles from our outdoor collection to get your creative juices flowing.
.
|
|
|
|
|
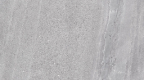
| Shell Grey Grip 60 20mm | Shell White Grip 60 20mm |
Murano Anthracite Grip 30 |
Jura Grey Grip 60 20mm |


.
Step 2: Calculate Materials Needed
Once you've chosen the tile or tiles for your project, it's time to figure out the amount of materials needed.
To calculate the required quantity of tiles, measure the area you want to pave and add an extra 10% to account for cutting waste and any possible breakages.
You'll also need to factor in other essential materials, like,
- Concrete mix for the concrete slab
- Mortar or tile adhesive
- Grout Sealer (if using)
If all this sounds a bit overwhelming, don’t stress. Meet up with a Tile Space consultant who can help you plan your tiling project. Book a complimentary consultation right here.
.
Step 3: Prepare the Concrete
1. Clean your concrete driveway, path or any other outdoor space by giving it a good wash from a pressure/power washer.
2. Next, apply the primer using a paintbrush or roller to prevent moisture from building up under the tiles.
.
Step 4: Break the tiles
Now comes the fun part! This is where you can get creative. Break up your tiles with a hammer and create unique shapes that fit together like a jigsaw puzzle to create an eye-catching crazy paving design.
.
Step 5: Lay the Tiles
1. Dry lay the tiles on the concrete, arranging them in a random pattern that you like but one that maximises coverage while minimising cuts. This step allows you to visualise the final result and make any necessary adjustments before you totally commit to the layout.
2. Once you're happy with the pattern, mix up the mortar or tile adhesive according to the manufacturer's instructions.
3. Starting from one corner of the area, apply a layer of the tile adhesive to the back of each tile and firmly press it onto the concrete. Put your back into it to make sure the tiles are laid down firmly, and the concrete has full contact with the adhesive.
4. Allow the tile adhesive to dry for at least 24 hours before moving on to the next step.
.
Step 6: Grout and Seal Your Crazy Paving
Complete your crazy paving project by grouting the joints between the tiles using a suitable grout. Tile Space expert Moet Walker says that you can get extra large grout for a more dramatic look.
When the grout has dried, apply an outdoor sealer to help protect it from the elements and increase its lifespan.
And there you have it! You've successfully created your very own crazy paving. If you're renovating your outdoor space and need more tile inspo, insights and tips, here are a few helpful guides.
- Outdoor Tile Inspiration Hub
- 5 Impressive Outdoor Deck Tile Ideas To Inspire Your Next Remodel
- Outdoor Deck Tiles Systems in NZ – A Complete Guide
Ready to start picking tiles for crazy paving? Check out our outdoor paving tile collection here.
Good luck!
.